方針変更
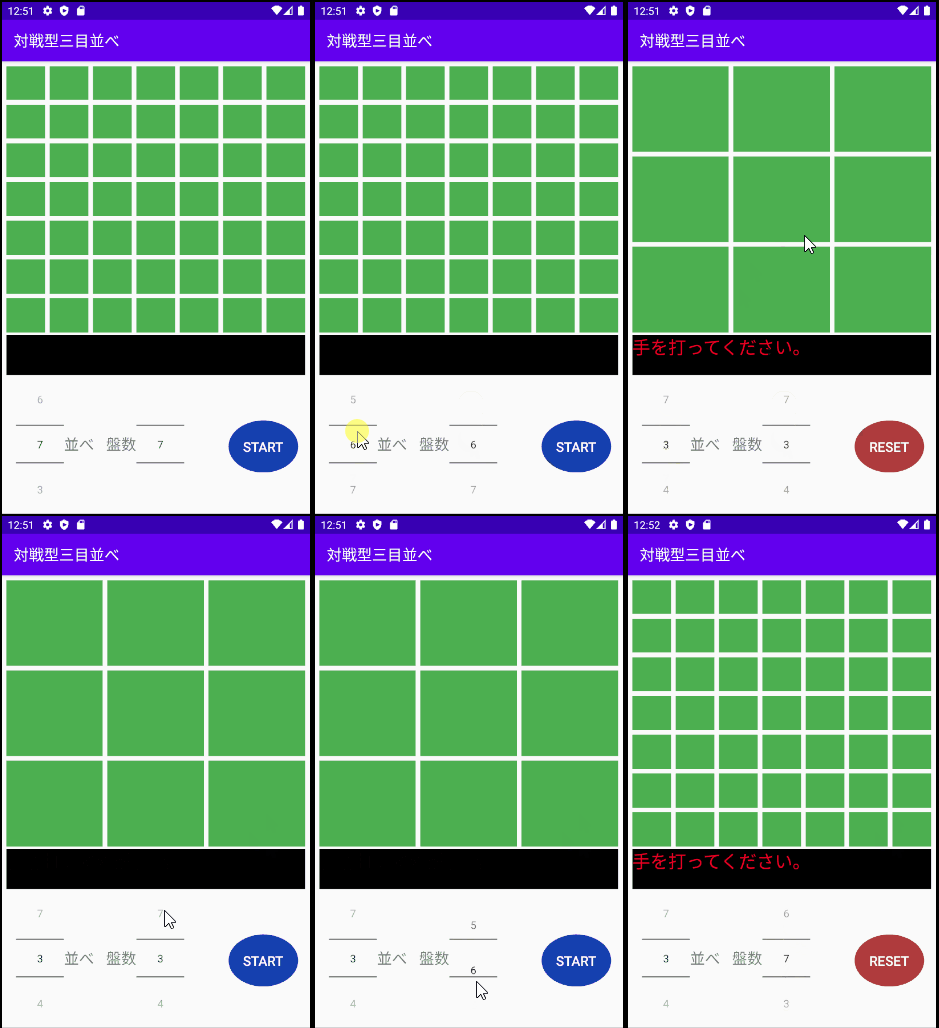
指定されたマス目の個数に応じてマス目を生成したい。しかし部品が縦均等に伸長しなかった。実現するため別の方法で行う。
部品を生成するのではなく、最大個数用意しユーザ指定により不要マス目を見えなくする。
最大マス目を用意
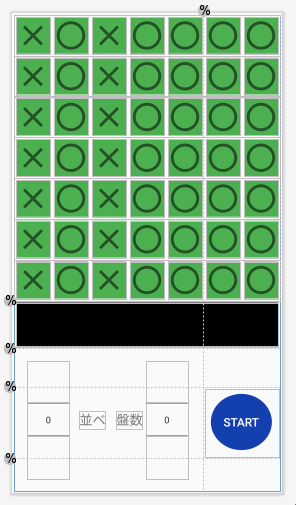
想定しいている7✕7マス目を定義する。
プログラムでハンドリングできるように、行、全てのマス目を配列化する。
|
1 2 3 4 5 6 7 8 9 10 |
row = arrayOf(tablerow1,tablerow2,tablerow3,tablerow4,tablerow5,tablerow6,tablerow7) imagebutton = arrayOf( arrayOf(imageButton11,imageButton12,imageButton13,imageButton14,imageButton15,imageButton16,imageButton17), arrayOf(imageButton21,imageButton22,imageButton23,imageButton24,imageButton25,imageButton26,imageButton27), arrayOf(imageButton31,imageButton32,imageButton33,imageButton34,imageButton35,imageButton36,imageButton37), arrayOf(imageButton41,imageButton42,imageButton43,imageButton44,imageButton45,imageButton46,imageButton47), arrayOf(imageButton51,imageButton52,imageButton53,imageButton54,imageButton55,imageButton56,imageButton57), arrayOf(imageButton61,imageButton62,imageButton63,imageButton64,imageButton65,imageButton66,imageButton67), arrayOf(imageButton71,imageButton72,imageButton73,imageButton74,imageButton75,imageButton76,imageButton77) ) |
かなり力技だ。自慢できないコードだが、仕様を実現するためには仕方がない。
Visibility
部品属性に「Visibility」がある。これは部品を表示/非表示にできるのだ。設定値は次の通りである。
| 属性値 | 内容 |
|---|---|
| VISIBLE | 表示する |
| INVISIBLE | 非表示にする。レイアウトは維持される |
| GONE | 非表示にする。レイアウトは再配置される |
試しに3×3のマス目に変更する。次のプログラムを記述した。
|
1 2 3 4 5 6 7 8 9 10 |
for(x in 0..6){ if( x >= 3) { row[x].setVisibility(View.GONE) } for(y in 0..6){ if( y >= 3) { imagebutton[x][y].setVisibility(View.GONE) } } } |
二重ループしながら4行目以降の行、4列目以降の列に、「GONE」を設定している。実行する。
無事に表示できた。この方法を採用する。
定義ファイルを分割
7✕7のマス目定義だけで500行以上になってしまった。他部品を変更するにも邪魔になる。そこでテーブル定義を別ファイルにし、メインの定義ファイルで取り込むことにした。
テーブル定義を別ファイル(table.xml)にする。
|
1 2 3 4 5 6 7 8 9 10 11 12 13 14 15 16 17 18 19 20 21 22 23 24 25 26 27 28 29 30 31 32 33 34 35 36 37 38 |
<?xml version="1.0" encoding="utf-8"?> <TableLayout xmlns:android="http://schemas.android.com/apk/res/android" xmlns:app="http://schemas.android.com/apk/res-auto" xmlns:tools="http://schemas.android.com/tools" android:id="@+id/table" android:layout_width="match_parent" android:layout_height="match_parent" android:layout_margin="3dp" app:layout_constraintBottom_toTopOf="@+id/guideline1" app:layout_constraintEnd_toEndOf="parent" app:layout_constraintStart_toStartOf="parent" app:layout_constraintTop_toTopOf="parent"> <TableRow android:id="@+id/tablerow1" android:layout_width="match_parent" android:layout_height="match_parent" android:layout_weight="1"> <ImageButton xmlns:android="http://schemas.android.com/apk/res/android" xmlns:app="http://schemas.android.com/apk/res-auto" xmlns:tools="http://schemas.android.com/tools" android:id="@+id/imageButton11" android:layout_width="match_parent" android:layout_height="match_parent" android:layout_margin="3dp" android:layout_weight="1" android:background="#4CAF50" android:scaleType="fitCenter" app:srcCompat="@drawable/ic_baseline_close_24" /> <ImageButton android:id="@+id/imageButton12" android:layout_width="match_parent" これが500行以上続く・・・ |
メインの定義ファイルでtable.xmlを取り込む。その命令が「include」だ。
|
1 2 3 |
<include layout="@layout/table"> </include> |
2行目でテーブル定義ファイル「table.xml」を指定している。この後、デザインモードでtableを再配置する。
実装
STARTボタンが押下された時点でユーザ指定のマス目のみ表示する。関数setBanを実装した。
|
1 2 3 4 5 6 7 8 9 10 11 12 13 14 15 16 17 |
fun setBan(){ for(idx1 in imagebutton.indices) { if(idx1 < numberPicker2.value){ row[idx1].setVisibility(View.VISIBLE); }else{ row[idx1].setVisibility(View.GONE); } for (idx2 in imagebutton[idx1].indices) { if(idx2 < numberPicker2.value){ imagebutton[idx1][idx2].setVisibility(View.VISIBLE); }else{ imagebutton[idx1][idx2].setVisibility(View.GONE); } } } } |
STARTボタンが押下されると実行される。二重ループしながらユーザ指定のマス目(numberpicker2.value)なら行、列にVISIBLE、以外ならGONEを設定している。
動作を確認する。

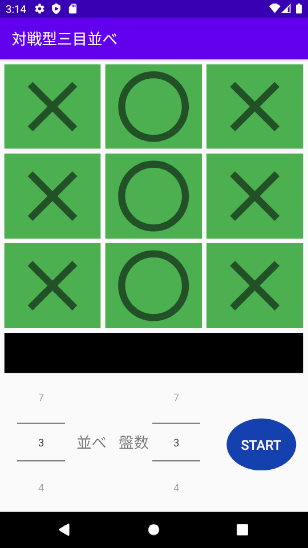
指定されたマス目の個数に応じてゲーム画面が変更できた。次はユーザ指定の三目、四目・・・並べに応じてゲームができるようにする。


