マス目を動的に生成
ユーザ指定されたマス目の個数に応じて、ゲーム画面のマス目を変更する。動的に変更するため画面定義ファイルではなくプログラムから生成する。
レイアウト生成1
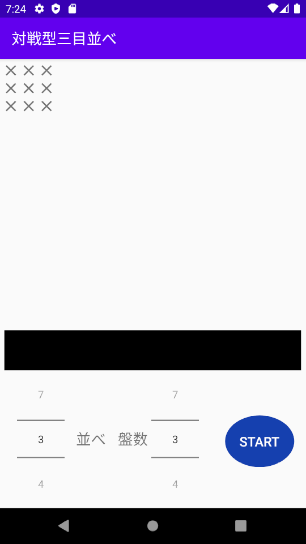
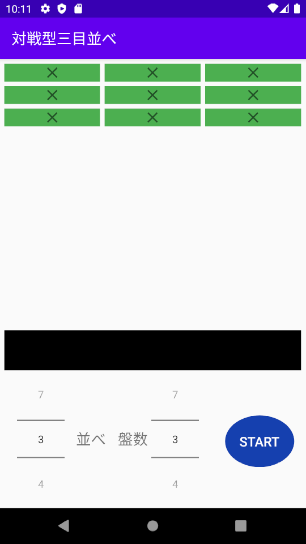
「addView」命令で親部品に子部品を追加することができる。試しに、3行(TableRow)3列(ImageButton)を生成してみる。
onCreateメソッドに次のコードを追加する。二重ループしながら3行、3列を作成している。
|
1 2 3 4 5 6 7 8 9 |
repeat(3){ var tablerow = TableRow(this) repeat(3){ var imgbutton = ImageButton(this) imgbutton.setImageResource(R.drawable.ic_baseline_close_24) tablerow.addView(imgbutton) } table.addView(tablerow) } |
2行目で行(TableRow)を生成し、4行目で列(ImageButton)を3回生成しながらaddView命令(6行目)で行へ追加している。
1行3列が生成できたら、8行目のaddView命令でテーブルに追加している。これを3回繰り返し3行生成するのだ。
画面サイズの最大まで伸長していないので、レイアウト属性を追加する。
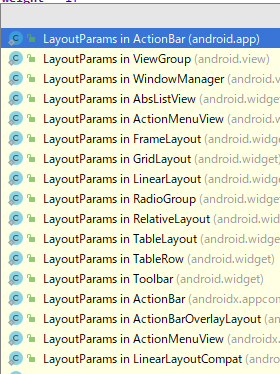
この「LayoutParams」、使う部品に応じて複数種類がある。
次のコードで装飾を行ってみた。
4行から7行目で行用のレイアウトを作成している。そして8行目で均等配置する設定を行っている。念のため1行目で親部品(table)の属性weightSumに子部品の比率合計値を設定した。通常は無くとも均等配列されるのだが・・・。最後に9行目で作成したレイアウトを行に設定。
|
1 2 3 4 5 6 7 8 9 10 11 12 13 14 15 16 17 18 19 20 21 22 23 24 25 |
table.weightSum=3.0f repeat(3){ var tablerow = TableRow(this) val row_layout_params = TableRow.LayoutParams( TableRow.LayoutParams.WRAP_CONTENT, TableRow.LayoutParams.WRAP_CONTENT ) row_layout_params.weight = 1f //均等配置 tablerow.setLayoutParams(row_layout_params) repeat(3){ var imgbutton = ImageButton(this) val img_layout_params = TableRow.LayoutParams( TableRow.LayoutParams.WRAP_CONTENT, TableRow.LayoutParams.MATCH_PARENT ) img_layout_params.weight = 1f //均等配置 img_layout_params.setMargins(3,3,3,3) //マージン imgbutton.setLayoutParams(img_layout_params) imgbutton.setBackgroundColor(Color.parseColor("#4CAF50")) //背景色 imgbutton.setImageResource(R.drawable.ic_baseline_close_24) //画像 imgbutton.scaleType = ImageView.ScaleType.FIT_XY //アスペクト維持伸長 tablerow.addView(imgbutton) } table.addView(tablerow) } |
列用のレイアウトを12行から15行目で作成している。16行目で均等配置の設定、17行目でマージン設定している。
ImageButtonの属性も設定する。18行から21行目で、背景、画像、伸長タイプ:FIT_XY (アスペクト比維持)を設定。
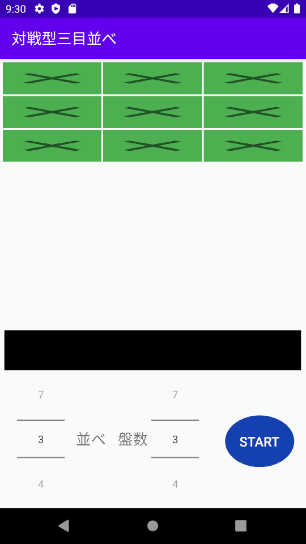
実行する。
う・・・ん??。行が最大にならない、画像のアスペクト比が崩れている???。原因不明なので、別の方法を試す
レイアウト生成2
レイアウト生成にプログラムと画面定義ファイルを組み合わせた方法がある。それを試してみる。
1行に対応する画面定義ファイルを作成する。
|
1 2 3 4 5 6 7 8 9 10 11 12 13 14 15 16 17 18 19 20 21 22 23 24 25 26 27 28 29 30 31 |
<?xml version="1.0" encoding="utf-8"?> <TableRow xmlns:android="http://schemas.android.com/apk/res/android" xmlns:app="http://schemas.android.com/apk/res-auto" android:layout_width="match_parent" android:layout_height="match_parent" android:layout_weight="1"> <ImageButton android:layout_width="match_parent" android:layout_height="match_parent" android:layout_margin="3dp" android:layout_weight="1" android:background="#4CAF50" app:srcCompat="@drawable/ic_baseline_close_24"></ImageButton> <ImageButton android:layout_width="match_parent" android:layout_height="match_parent" android:layout_margin="3dp" android:layout_weight="1" android:background="#4CAF50" app:srcCompat="@drawable/ic_baseline_close_24"></ImageButton> <ImageButton android:layout_width="match_parent" android:layout_height="match_parent" android:layout_margin="3dp" android:layout_weight="1" android:background="#4CAF50" app:srcCompat="@drawable/ic_baseline_close_24"></ImageButton> </TableRow> |
この定義ファイルをプログラムで配置する。定義ファイルを取り込む命令が次の命令だ。
コードを書いてみる。
|
1 2 3 4 |
repeat(3) { var row = getLayoutInflater().inflate(R.layout.tabelcell, null) table.addView(row) } |
2行目で定義ファイルを取り込み、3行目でtableに追加する。これを3回繰り返す。
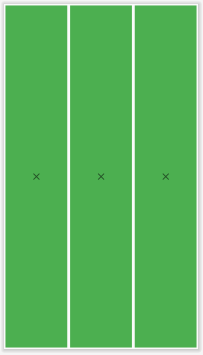
実行する。
あれ?。縦がいっぱいにならないなぁ…。
この後、終日粘ってみたが、解決しなかった。「ユーザ操作によりマス目を動的に生成する」、どう実現するか・・・。

